Page no: H72b
Explanation |
Videos and Pics |
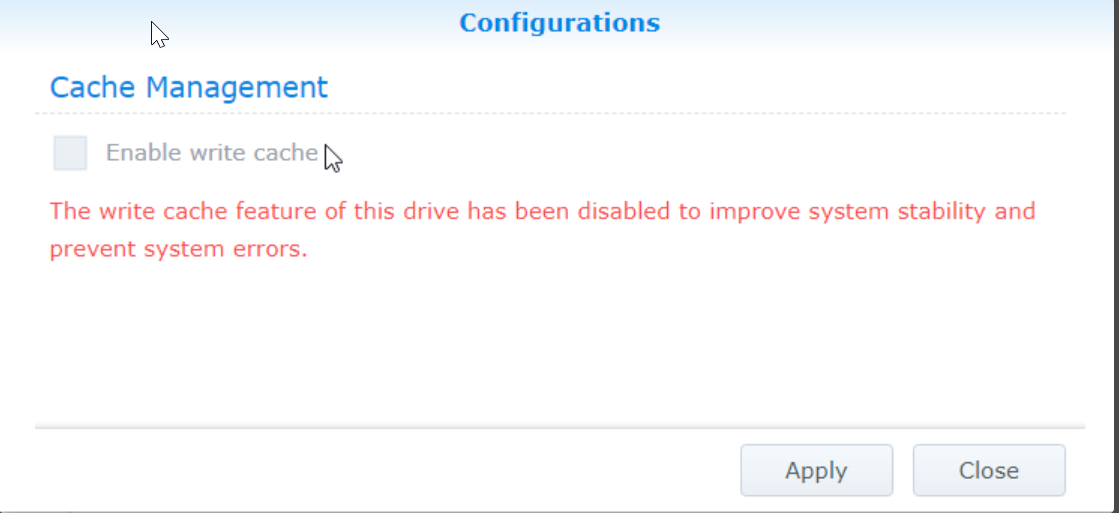
Firmware updateWrite Cache disabled
Further Background:
|
|
Firmware Update and Replace Disks
|
|
Hardware DefaultsQNAP |
|
Disk Checks on WindowsThe best tests can be run on Windows, for example Hard Disk Sentinel.
Problems with PartitionWhen I try to run “Short Self Test” i got this message: “Test Failed By Read Element 0X79″
|
Problem with PartitionsIf you check the text description of Hard Disk Sentinel, it suggests to please read the following page: (available also from Usually one runs ChkDsk if the partition shall not deleted. |
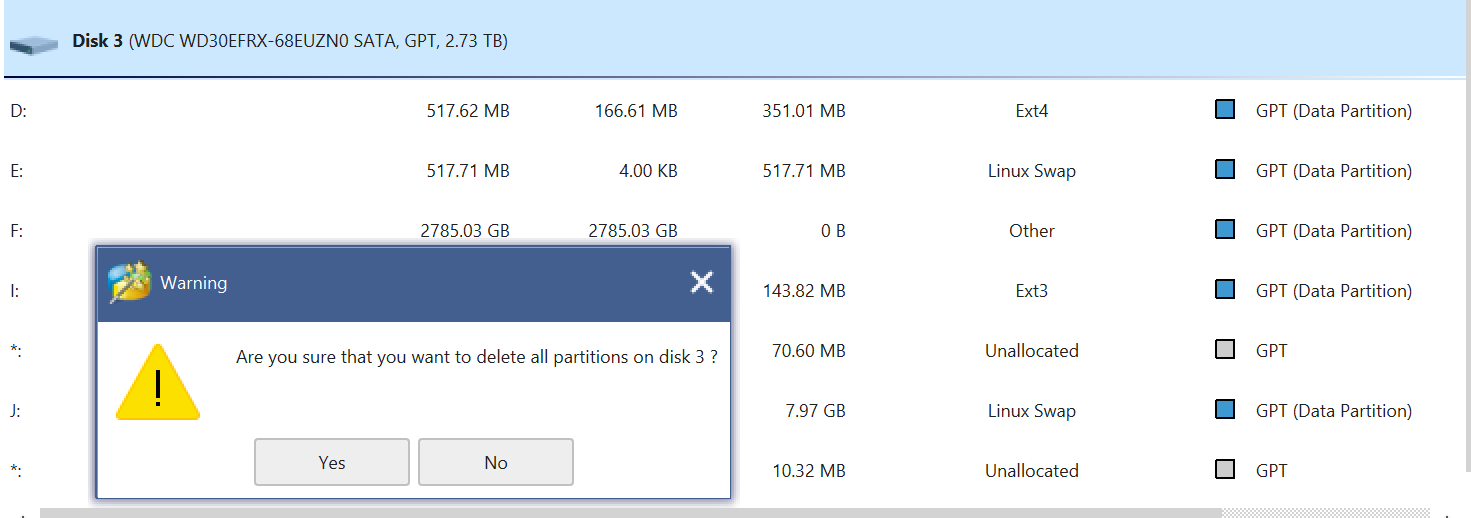
| Delete Partition
Given that it is a no longer used NAS Disk, we can delete the partitions using Partition Wizard Then we should restart the
|
|
Weak SectorsUsually, weak sectors can be caused by
|
Step1: Verify power loss, failure, etc. Step 2: Antivirus Step 3: |
|
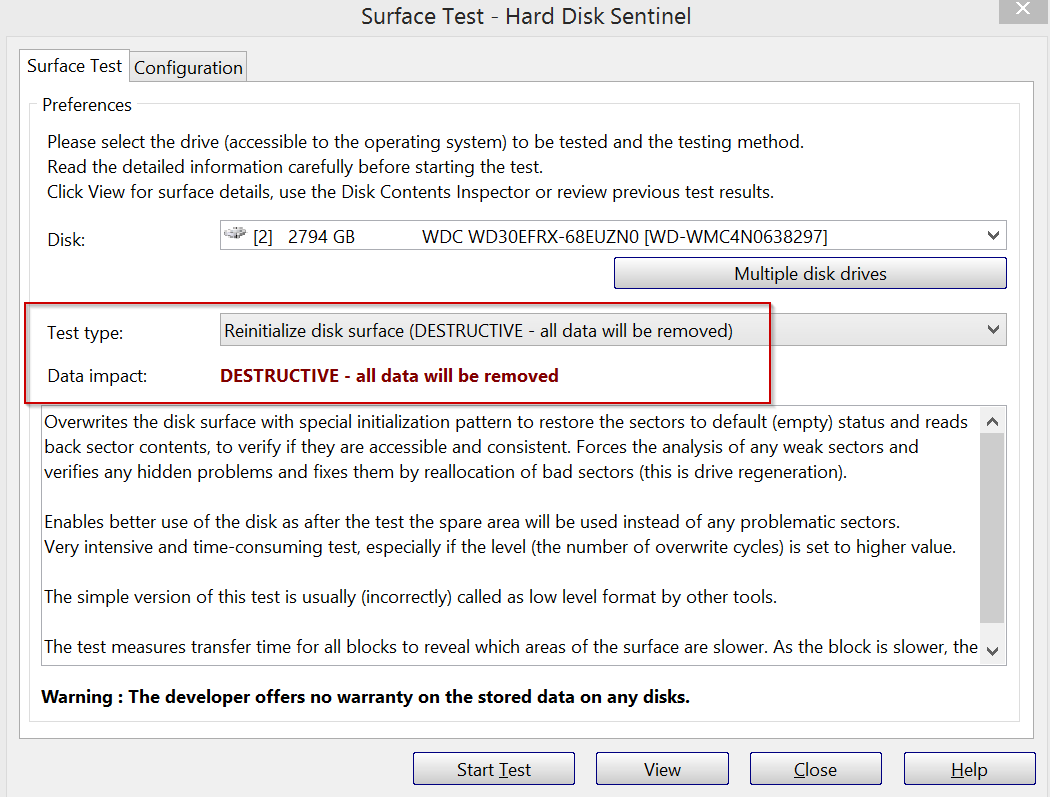
Bad sectors Re-initialize disk with Hard Disk Sentinel.
The standard edition allows for a simple override.
|
|
|
Re-initialize via Windows |
|
Tags: ForPublish
See more for